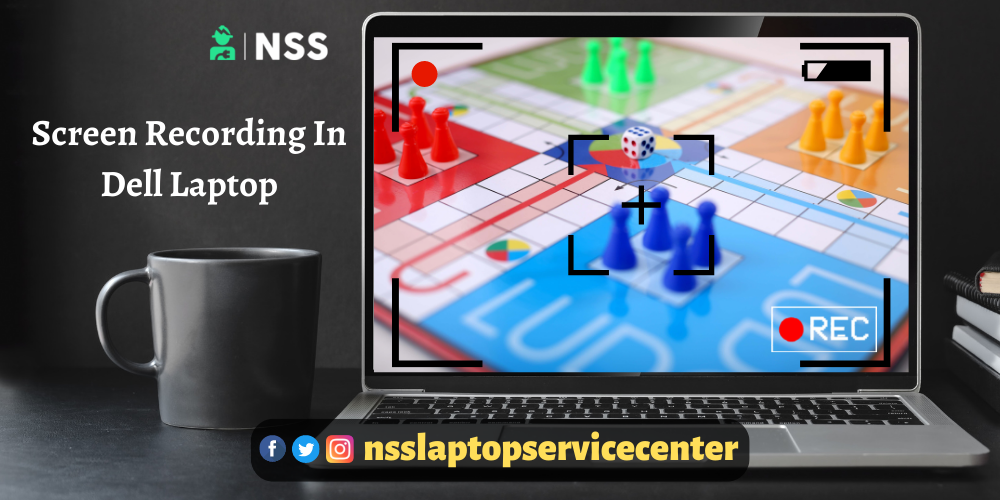
Screen recording on a laptop helps one to record an activity in which you are engaged on the PC. It is a great way to share your screen with other users. Here are simple and easy steps to help you with screen recording on a Dell laptop.
First, let's talk about how to take a screenshot on a Dell laptop.
A keyboard must be connected to the Game Bar function on a tablet or when using Tablet Mode on a PC.
Press the Windows Key + G keyboard shortcuts once the specific application you want to record has been launched. A prompt asking if you wish to open the Game Bar appears. Put a check in the box. Yes, this game will enable the Game Bar.
Game Bar welcome message
Note: To start the recording immediately, press Windows Key + Alt + R instead of the Windows Key + G buttons.
If you choose to start recording after the Game Bar has opened, press the record button as follows:
Make the corrections or activities you want to document in the application.
Note: Your choices will be highlighted on the screen as you make them, but you might not be able to see the mouse pointer or movement when the recording is being played back.
To stop recording, press the record button (or Windows + Alt + R once more).
The video capture file will be saved under Video> Captures in your user folder by default. An MP4 File (.mp4) file type is used by default to keep the recorded video file.
How to screen record in Dell laptop Windows 10
In Microsoft Stream, choose Create > Record screen.
Select Allow Microsoft Stream to use your camera and microphone when your browser asks you to.
Your camera and microphone will be inoperable if you choose Block. Select Allow next to the appropriate device to enable them by clicking the lock icon in your browser's address bar.
To configure your camera and microphone, click the Webcam or Microphone icons. Ensure your USB camera or microphone is connected, and choose it from the menu if you're using one. You can switch off your camera and microphone if you don't want them in your recording.
Now that you're prepared, start recording!
Choose the microphone and camera to use. Selecting your desired camera and microphone will update the images in each choice list.
How to begin screen capture on a Dell laptop
To start recording, click the Record button.
Click Share after choosing whether to share your entire screen, a particular application window, or a browser tab. Choose the Share audio option to add sounds from your computer to the recording.
If you're using macOS Catalina, you might need to configure screen recording permissions in System Preferences. Find out more about the Catalina permissions in macOS.
Wait for the recording to start after the countdown. Once you start, the timer will indicate how much time is left.
Also Read, Screen Recording In = HP, Lenovo, MacBook, Asus, Acer
Now, you can navigate to the program or window you want to record.
Return to the Microsoft Stream screen recorder tab in your browser after recording or if you need a break. Change to another window if you need to complete other tasks while registering. You must return to the screen you are recording if you need to take action while it is being recorded.
Select the Pause symbol to stop recording the screen, audio, and camera at any moment. To resume, click the Play icon.
Select Next to view your recording when you're done.
How to do screen recording in Dell laptop Windows 10
Step 1: Choose your recording options in step one.
Step 2: Decide which area you wish to record in.
Step 3: Audio-record your desktop (if you want to)
Step 4: Edit your Video in step four.
Step 5: Create and distribute
How to capture the screen on a Dell laptop
Choose the microphone to begin recording your voice. Additionally, use the system audio option to capture computer-generated sounds like beeps and boops.
You might include inputting the address into your browser while your screen records all mouse movements and clicks to show viewers exactly where to go and how to get there.
When you record your screen, you can additionally capture audio and Video. Use an external microphone or the built-in microphone on your computer to narrate your movie using microphone audio.
Additionally, you can capture your system audio, which is the audio that emanates from your speakers.
Taking screenshots on a Dell laptop
Access the screen you wish to take a screenshot of first. Press the Print Screen key on your keyboard once while still on that screen. With this, your entire screen gets screenshotted and copied to your clipboard: open Paint or another image editor to view it after pasting your snapshot there by pressing Ctrl+V.
How to screen record on Dell laptop Windows 8
Your laptop is one of those that lacks a print screen key, but don't worry; it can still take screenshots. All you have to do is locate the Function or Fn key. If you already know where it is, you can access it by pressing the Fn key, Windows key, and Space Bar.
How to record a screen on a Dell laptop
1. press the "Windows" and "G" keys on your keyboard to open the Game Bar.
2. To proceed, select "Yes, this is a game" from the dialogue box that appears.
3. click the "Start Recording" button to record your laptop screen.
4. Press the "Stop Recording" button to save the recording.
Also Read: How To Share Mobile Screen On Laptop
Also Read: How To Clean A Laptop
Conclusion:
I won't say much, as the blog has informed you about how to record a screen record on a Dell laptop. It is an easy process, and you can use it for various purposes.
Frequently Asked Questions


Popular Post
- How To Use Laptop Without Mouse
- Buy Microsoft Surface Laptop 4 Battery: Specification & Cost In India
- 4k Resolution Windows 11 Wallpaper
- Dell Laptop Speakers Not Working
- Lenovo Laptop Not Turning On Power Light Blinking
- Microsoft Surface Laptop SE LCD Screen Replacement & Repair
- MacBook Pro Not Turning On
- Repair Laptop Battery At Home
- Acer Laptop Computer Amc Services In India
- Why Shouldn't We Put The Laptops On Beds And Work There
Categories
NSS Laptop Service by Location
Popular Services
- MacBook Battery Replacement Cost
- HP Printer Repair in Delhi NCR
- Dell Laptop Repair
- HP Laptop Repair
- Samsung Laptop Repair
- Lenovo Laptop Repair
- MacBook Repair
- Acer Laptop Repair
- Sony Vaio Laptop Repair
- Microsoft Surface Repair
- Asus Laptop Repair
- MSI Laptop Repair
- Fujitsu Laptop Repair
- Toshiba Laptop Repair
- HP Printer Repair Pune
- Microsoft Surface Battery Replacement
- Microsoft Surface Screen Replacement


