How To Connect Laptop To TV
In this step-by-step guide, we'll show you how to connect your laptop to your TV so you can watch Netflix, your vacation photos, and other content on the big screen. There are many ways to do it, but we'll only discuss the easiest and most common ones.
The best way to do it will depend on several factors, such as the ports on your TV and laptop. Let's get started.

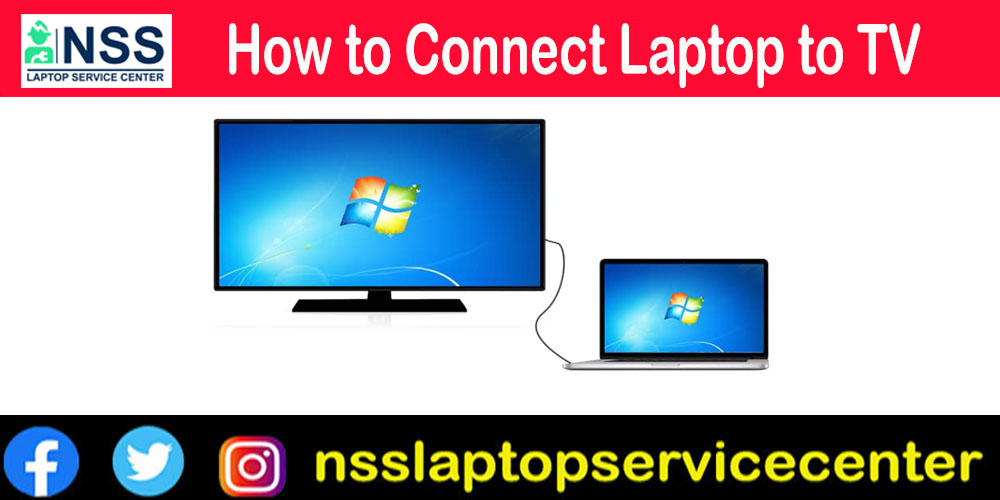
How to use an HDMI cable to connect a laptop to a TV
This is the easiest way to hook up your computer to your TV. You only need an HDMI cable, which you can get from Amazon for less than $10, to do the job. An HDMI cable can handle high-resolution audio and video and is great for streaming your favorite TV shows.
Both your laptop and TV need an HDMI port for this to work. If they aren't old or new, there's a good chance they both have it. Turn on both devices and use an HDMI cable to connect them. Then, use the remote to switch your TV to the correct HDMI input.
You should know that particular laptops have a micro or tiny HDMI connection. Because of this, you will want a separate cable, which you may acquire by clicking on the appropriate icon below. You may also purchase an adaptor, saving money if you own a standard HDMI cable. You can buy it here (small HDMI to HDMI) or it here (micro HDMI to HDMI).
Also Read: How to Test Laptop Screen Inverter
Also Read: How to take screenshots in Windows 7

Instructions in a step-by-step format:
-
You may use an HDMI cable to link the laptop to the television.
-
Activate both pieces of technology.
-
Choose the appropriate HDMI input on the television using the TV's remote.
The connection between the two devices must be set up mechanically to function correctly. If it doesn't, ensure that "TV" is chosen by navigating to Settings > System > Display. You also have the option of adjusting the resolution to correspond with that of your television. When that is finished, hit the Windows key in combination with the P key, and then pick the "Duplicate" option from the drop-down menu that appears.

How to use a VGA cable to connect a laptop to a TV
If your computer and TV are older, they probably have a VGA port. You can buy a VGA cable and see what it looks like here. VGA isn't as good as HDMI because its video quality isn't as good. Also, it only handles the video signal, so you'll need a different cable for the sound.
Turn on your TV and laptop. Then, use a VGA cable and a 3.5mm audio cable to connect them. The next step is to press the "Input" (or "Source" or "AV") button on your remote and choose "PC" or "RGB" from the list. That's the end of the story.

Instructions with steps:
-
Use a VGA cable to link the laptop to the TV.
-
Use a 3.5mm audio cable to connect the two items.
-
Start both things up.
-
Using the TV remote, choose the PC or RGB input.
The connection between the two gadgets should happen on its own. But if it doesn't, make sure "TV" is selected in Settings > System > Display. You can also change the resolution to match what your TV has. Once that's done, simultaneously press the Windows key and the letter P and choose "Duplicate."
Also Read: How to Replace The Backlight Lamp (CCFL)
Also Read: Asus service center
What if the ports on my laptop and TV are different?
Say, for example, that your laptop only has an HDMI port and your TV only has an old VGA port. You'll need an HDMI to VGA converter to get the job done. They aren't too expensive. You can buy one on Amazon for as little as $8 if you click the button below.
Once you have the converter, it's easy to do the rest. Connect the HDMI cable to your laptop and the VGA cable to your TV. Then, you can connect the two devices by plugging the other end of the VGA cable into the converter. The last step is to use the TV remote to choose the PC or RGB input.

Instructions with steps:
-
Connect the HDMI cord to your laptop.
-
Connect the VGA cord to your TV.
-
Connect the two devices by plugging the VGA cable into the converter.
-
Start the computer and the TV.
-
Using the TV remote, choose the PC or RGB input.
The connection between the two gadgets should happen on its own. But if it doesn't, make sure "TV" is selected in Settings > System > Display. You can also change the resolution to match what your TV has. Once that's done, simultaneously press the Windows key and the letter P and choose "Duplicate."
Also Read: How to Remove BIOS Password From Toshiba
Also, Read the Toshiba service center near me.

How to use a USB-C cable to connect a laptop to a television
A few alternatives are available if your laptop includes a USB-C connector. You can use a USB-C cable to connect it straight to your TV, but this will only work if your TV also has a port that accepts USB-C connections. Obtain a USB-C cable, choose the appropriate input on the television, and then connect the two devices using the cable. Be aware, however, that not all USB-C ports can carry a video signal; thus, before purchasing a USB-C to USB-C connection, you should ensure this is the case.
The second choice is to go out and get an adaptor that converts USB-C to HDMI, which you can do by clicking the button below. Connect an HDMI cable to your television and a USB-C cable to your laptop using the appropriate cables. After that, connect the other end of the HDMI cable to the adapter so that the two devices can communicate. To complete the setup, make sure the HDMI input is selected on your television.
Instructions in a step-by-step format:
-
Use a USB-C cable to connect the two devices. You might also use an adaptor that converts USB-C to HDMI.
-
Start up the television and the laptop.
-
Using the TV's remote, navigate to the appropriate television input for your cable.

How to link a laptop to a TV without wires
Wireless is the best way to connect your laptop to your TV if you don't want to deal with cables. But you need a media streaming device like the Google Chromecast with Google TV or the Roku Streaming Stick Plus to do the job. You can also use an Android TV, which has Chromecast built-in.
The best option is probably a Google Chromecast device. It costs more than an HDMI cable, but it's not too expensive, starting at just $35 — you can get it via the link below.

Plug the Chromecast into your TV and set it up to use it. I won't explain how to set it up in this post because we already have a post about that. You can read it here. Once everything is set up, you can mirror Chrome tabs, local videos, and files on your laptop and even your desktop to the TV. Open Chrome on your computer, click the menu icon (three vertical dots) in the upper-right corner, and choose "Cast." Then, use the "Sources" drop-down menu to select the content you want to cast and click on the Chromecast to which you want to throw it (if you have more than one).
Instructions with steps:
-
Set up the Chromecast by plugging it into the TV (click here for instructions).
-
Open the Chrome browser and click the menu icon in the upper-right corner (three vertical dots).
-
Use the "Sources" drop-down menu to choose what you want to cast.
-
Choose the Chromecast you want to send the video to.
Also Read: How to Fix Broken Keyboard Connector | Laptop Keyboard Connector Base Broken
Also Read: MacBook repair near me
Use a USB flash drive as a bonus tip.
If you only want to watch your vacation photos or a movie now and then on the big screen, you could use a USB flash drive. You wouldn't need cables or a particular media streamer. Just copy the files from your laptop to the USB, plug the USB into your TV, and choose the USB input on your TV to play the files. But for this to work, your TV must have a USB port and be able to play different file types. Some TVs can only play picture files, but others can also play video files.

Instructions with steps
-
You can move pictures and videos from your laptop to a USB drive.
-
Connect the USB stick to your TV.
-
Choose USB as the source for your TV.
-
Choose the files you want to watch and press the play button.
Also Read: How to Clean a Laptop Keyboard
Also Read: HP authorized service center near me


Popular Post
- What Is A Graphic Card
- Find Bluetooth Connectivity In Laptop
- Revolutionize Your Restaurant Billing With Innovative Software
- Which Laptop Is Best For Mechanical Engineering Students
- How To Clear Cache In Windows 10
- Lenovo Laptop Problems Solution
- How To Make A USB Bootable
- How To Delete Cache File In Laptop
- How To Create A Password In Windows Laptop Computer Apple Macbook
- How To Format Acer Laptop
Categories
NSS Laptop Service by Location
Popular Services
- MacBook Battery Replacement Cost
- HP Printer Repair in Delhi NCR
- Dell Laptop Repair
- HP Laptop Repair
- Samsung Laptop Repair
- Lenovo Laptop Repair
- MacBook Repair
- Acer Laptop Repair
- Sony Vaio Laptop Repair
- Microsoft Surface Repair
- Asus Laptop Repair
- MSI Laptop Repair
- Fujitsu Laptop Repair
- Toshiba Laptop Repair
- HP Printer Repair Pune
- Microsoft Surface Battery Replacement
- Microsoft Surface Screen Replacement


