The practice of photography is quickly integrating into daily life. People cherish preserving their memories of the places they travel to, social gatherings, loved ones, and memorable occasions. Having a photo of the memory is the best way to preserve it.
While sophisticated DSLR cameras or high-end smartphones are required for professional photography, you may take good images if you have a PC. Here is the definitive how-to tutorial if you have any questions.
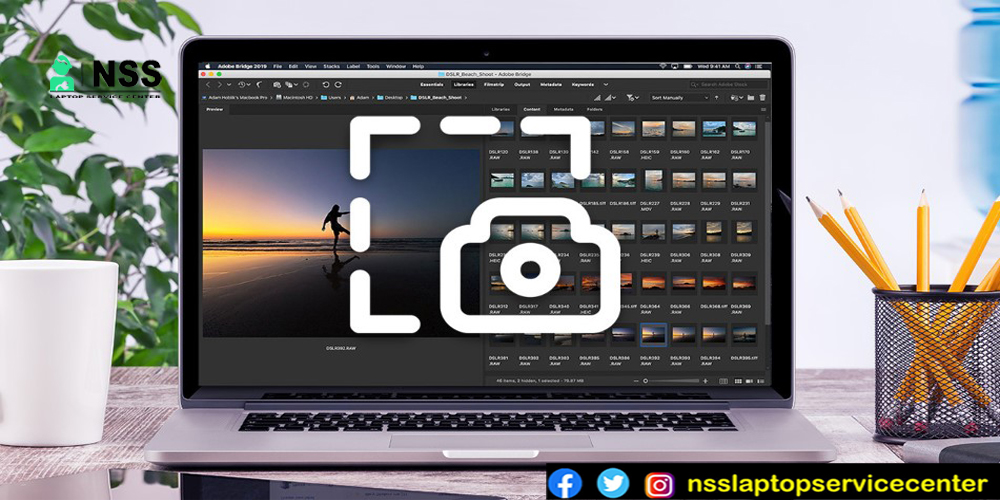
How to take photos using a computer
The digital camera and mobile phone businesses aren't the only ones affected by the developments in digital photography. Most personal computers have also profited from the technology; these devices now include potent cameras. Taking pictures with your computer is straightforward, thanks to the built-in webcam. Computer photo-taking features are available on all popular operating systems. Let's first study how to take a Mac and Windows 10 picture, then learn how to take images with third-party applications.
How to take photos using the built-in Windows tool
On Windows 10, you can snap pictures using the integrated camera feature, commonly called a webcam. This tool demonstrates how to capture an image on a laptop running Windows 10. Many laptops and computers already have a built-in webcam, but if your laptop doesn't, you may buy an external webcam and connect it to the USB ports.
You can use the Cortana search button to find the camera app, and once it has been launched, you can immediately see the range of images the webcam can take. If using an external webcam, move it into place before tapping the camera button. This is how Windows users capture photos.
Advances in digital photography haven't just affected the camera and mobile phone industries. Most laptop computers now come equipped with an integrated webcam. Taking a picture with your laptop's webcam is easy. Snapping a photo is available immediately on your computer.
This demonstrates capturing a photo using the camera on your Windows or Mac computer. To accomplish this, use the Camera program in Windows 10 or the Photo Booth app on a Mac.
Method 1 of 2:
1. Ensure your computer has a webcam and is running Windows 1. You can quickly take a picture if your laptop has a built-in webcam, which most have. If not, you must first set up a webcam on your computer to proceed.
2. Launch Start. In the bottom-left corner of the screen, click the Windows logo.
3. In Start, enter the camera. This will look for the Camera app on your computer, which enables you to capture pictures with any attached cameras.
4. At the top of the Start window is a white icon in the form of a camera. This will launch the Windows Camera application.
5. Match the camera on your computer to turn on. When your camera is turned on, a light next to it should illuminate, and you should be able to see yourself in the Camera app's display.
6. Position your computer so that you can see what you wish to shoot. The image of the subject for your photograph should appear on the screen.
7. Select "Capture" from the menu. The bottom of the Camera app window contains this camera-shaped symbol. By doing this, a picture will be taken and saved to the Photographs program on your Windows PC.
Also Read: How To Boot An Asus Laptop From A USB
Also Read: Taking A Screenshot In a Lenovo Laptop
Method 2
Method 2 of 2:
On Mac
1. Open Spotlight first. A magnifying glass icon will appear in the top-right corner of the screen. Click it.
2. In Spotlight, type "photo booth." This will look for the Photo Booth program on your Mac.
3. Press Photo Booth. It appears as the first result after the Spotlight search box. The Photo Booth on your Mac will launch as a result.
4. Watch for the camera on your Mac to activate. When it is turned on, a green light will be next to your Mac's camera.
Once the camera is turned on, you should also see a screenshot of yourself in the Photo Booth.
5. Face the subject of your photo in the direction of the Mac's display. Feel free to make any necessary adjustments based on what appears in the main Photo Booth window since it will be included in your final photograph.
6. Select "Capture" from the menu. This bottom-of-the-page button with red and white text is the camera. By doing this, the photo will be taken and added to the Photos program on your Mac.
The image will appear on your iPhone or iPad if Photo Stream is enabled.
Also Read: Lenovo Service Center Pune Toll-Free Number: 1800-419-7555
Also Read: Lenovo Service Centre Delhi
Conclusion:
I won't say much, as the blog has informed you about how to take photos on a laptop. It is an easy process, and you can use it for various purposes.
Frequently Asked Questions


Popular Post
- System Applications Not Working
- How To Change Hp Laptop Password
- Why It Is Needed To Lock The Keyboard
- Affordable Microsoft Surface Laptop Go LCD Screen Services – Buy Now
- Dell I7 12th Generation Laptops
- 10 Best Laptops In India 2022
- Microsoft Laptop Not Turning On Power Light Blinking
- Best Motherboard For Ryzen 9 5900x
- How To Change Function Key Settings In Dell
- Asus ROG Zephyrus G16 Laptop Screen Replacement & Repair Near You
Categories
NSS Laptop Service by Location
Popular Services
- MacBook Battery Replacement Cost
- HP Printer Repair in Delhi NCR
- Dell Laptop Repair
- HP Laptop Repair
- Samsung Laptop Repair
- Lenovo Laptop Repair
- MacBook Repair
- Acer Laptop Repair
- Sony Vaio Laptop Repair
- Microsoft Surface Repair
- Asus Laptop Repair
- MSI Laptop Repair
- Fujitsu Laptop Repair
- Toshiba Laptop Repair
- HP Printer Repair Pune
- Microsoft Surface Battery Replacement
- Microsoft Surface Screen Replacement


