This article contains instructions on resolving problems with your Dell desktop or laptop computer's CD, DVD, or Blu-ray drive. If your CD, DVD, or Blu-ray drive cannot eject the disc, the following steps will help you identify and fix the problem.
Symptom
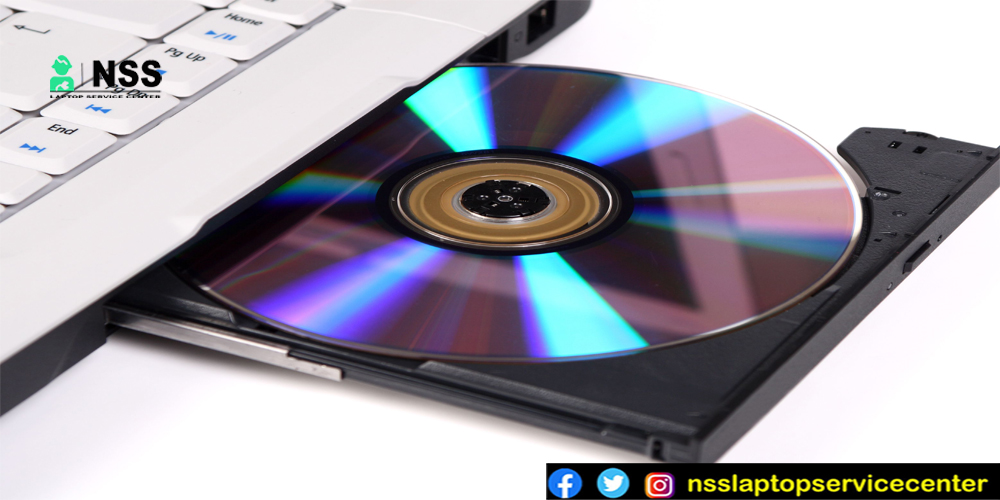
Your computer's CD, DVD, or Blu-ray drive could not eject the disc.
If a disc doesn't eject from your CD, DVD, or Blu-ray drive, use the troubleshooting steps listed below. If the industry has not entirely failed, the instructions may, in some cases, be able to assist you in fixing the issue.
Internal and external CD, DVD, or Blu-ray drives can be utilized using the steps below, albeit some of the essentials might be slightly altered.
The following instructions apply to the following versions of the Microsoft Windows operating system; however, specific steps may slightly differ when using Windows Vista or Windows XP:
-
Microsoft Windows 10
-
Microsoft Windows 8 or 8.1
-
Microsoft Windows 7
-
Microsoft Windows Vista
-
Microsoft Windows XP

Troubleshooting steps
For further information, click on the troubleshooting methods listed below. Continue to the following troubleshooting step if the problem is not fixed.
Within the Operating System, eject the disc.
The Windows Exsystemsr File Explorer board has a manual CD/DVD tray ejection option. The actions below should be followed to eject the tray from the operating system:
-
To launch Windows Explorer or File Explorer, press the Windows key + E.
-
Select Computer or My PC from the window's left pane.
-
Eject can be chosen by right-clicking on the CD/DVD/Blu-ray drive icon.
Manually eject the disc within the System BIOS.
To better isolate if the issue is caused by the drive itself or some 3rd party application that may be causing the problem, you can try to eject the tray from within the System BIOS. To remove the tray within the System BIOS, follow these steps:
-
While your computer is restarting, press the F2 key.
-
Press the CD/DVD/Blu-ray drive's Eject button once you are on the SystemBIOS panel. Refer to the Dell Knowledge base article, Instructions to Download and View Manuals, for directions on locating the Eject button on your computer.
-
Restart the computer and boot into the Operating System if the tray eject function within the System BIOS is successful.
-
Continue with the following troubleshooting step if the eject doesn't function properly within the operating system.
-
For in-warranty repair alternatives, contact Dell Technical Support if the tray ejects in the System BIOS fails.
Use the emergency eject option (tray-load drives only)

You can manually eject the optical drive tray using a paper clip. This is applicable for computers with tray-load purposes only.
-
The paperclip should be unfolded until it is at least 1 to 2 inches (2 to 5 cm) straight.
-
There should be a tiny pinhole directly beneath or above the drive bay door, which is the component that "ejects" the disc.
-
The paperclip should be carefully pushed into the pinhole. To sufficiently eject the drive bay so that you can grasp hold of it, repeatedly remove and reinstall the paperclip.
-
Pull the drive bay back by gradually doing so. If you encounter resistance while pulling, be careful not to press on.
-
To close the tray, press the Eject button again. (Only desktops)
The Dell Quickset drivers should be installed or updated (slot-load drives only)
On most Dell laptops and specific Dell Desktop computers, the Dell QuickSet program offers quick access to configuring settings for power management, icon and text size, display brightness, optical disc tray eject, and other features.
For further details on downloading and installing a driver, consult the Dell knowledgebase article Drivers and Downloads FAQ.
Shut down any CD/DVD players or recorders.
Some CD/DVD recording or playback software may prevent the optical disc drive from being ejected. Ensure all these programs are closed before attempting to remove the disc.
Additionally, you might wish to check the System Tray at the bottom right corner of the display. The CD/DVD playing or recording program icon should be closed or exited by performing a right-click on it.
Update your computer's BIOS with the most recent version.
According to Dell, the BIOS should be updated as part of your regular update cycle. The update includes feature improvements or changes that will help keep your system software current and compatible with other system modules (hardware, firmware, drivers, and software) and offer security updates and improved stability. This is similar to the operating system and driver revisions.
For additional information, see the Dell knowledgebase article How to upgrade your System BIOS within Windows.
Run the optical drive's Dell PC Diagnostics program (CD, DVD, or Blu-ray drive)
You might need specific optical media for the optical disc drive diagnostic, such as a CD-RW, DVD-RW, or Blu-ray disc. Ensure you have the appropriate media for the issue you want to troubleshoot before starting the diagnostic.
Also Read: Why It Is Needed To Lock The Keyboard?
Also Read: How To Transfer Data From One Laptop To Another Laptop
Conclusion:
I won't say much, as the blog has informed you how to open a DVD drive on a laptop.
It is an easy process, and you can use it for various purposes.
Frequently Asked Questions


Popular Post
- What Is Microsoft Office
- Buy Lenovo Yoga Tablet 2 Battery – NSS Laptop Service Center
- What's The Best Laptop Repairing Center In Noida
- Microsoft Surface Laptop SE LCD Screen Replacement & Repair
- MacBook Air Vs MacBook Pro Which Is Better For You
- Which Laptop Is Best For Mechanical Engineering Students
- How To Make Lenovo Laptop Faster
- Why Shouldn't We Put The Laptops On Beds And Work There
- How To Share Your Laptop Internet With Your Android Phone Via USB Cable
- How To Enable Secure Boot On Windows 11 Pc Or Laptop
Categories
NSS Laptop Service by Location
Popular Services
- MacBook Battery Replacement Cost
- HP Printer Repair in Delhi NCR
- Dell Laptop Repair
- HP Laptop Repair
- Samsung Laptop Repair
- Lenovo Laptop Repair
- MacBook Repair
- Acer Laptop Repair
- Sony Vaio Laptop Repair
- Microsoft Surface Repair
- Asus Laptop Repair
- MSI Laptop Repair
- Fujitsu Laptop Repair
- Toshiba Laptop Repair
- HP Printer Repair Pune
- Microsoft Surface Battery Replacement
- Microsoft Surface Screen Replacement


